samedi 24 janvier 2015

Flaps lever design part 2

In this drawing I have added an index showing the flaps position.
As said in the last article, normally the position is given by FSX and not by the real position of the flaps. But for more facility, the position of the rotary encoder could give the signal position to the index servo. In this way you can save an Arduino output.
The servo used is a TowerPro SG92R, you can find many way to interface this one with Arduino on the net.
You must provide the space occupied by the servo during the implantation  in the instrument panel.
Some parts can be made with a 3D printer , the hardware used is a standard ISO.


Here you are an exploded view


Flaps lever design


This is a draw of a flaps lever used on Cessna. The principle is very easy.

The lever is fixed by screws at the main gear, when the lever moves, the main gear meshes the secondary gear connected to a rotary encoder. This last one gives a position signal to Arduino.
The rotary encoder is also used as axis for the secondary gear.
The Cessna lever needs working in two axis , vertical axis and horizontal axis.
For the horizontal axis a spring is used to keep a pressure on the lever.


A possible improvement is to add a servo with an index to give the flaps positions.
This servo should be considered like a control system process.
The signal will be given by FSX and not a direct position of the lever.

samedi 6 décembre 2014

This is a picture before the modification

This is a picture of the IAS indicator before the modification. The main change will be the dial scale , this one was adapted for the stepper motor.


Here you are a excel graphic showing the relation between the speed and the degrees (dial scale) in C172 indicator. The difficulty is from 0 to 40 Kts  and 50 to 110 Kts. After the values seem linear.
In the reality, The IAS indicator respond to the air law given by the static and total pressure. The difference between both give the speed value.

Looking this graphic, one possibility to realize the better possible a straight line with Arduino , is to cut into some parts the trend line.
By example:  the range 0 - 40 Kts seems a straight line, 40 to 70 Kts, 70 to +/- 90 Kts, and so on.

I know the different values must be translated in Arduino language with perhaps many 'IF' conditions.
I think also , a test program will be very useful to determine the angular relation with the speed.


This graphic it's only usable for this indicator:


vendredi 5 décembre 2014

Servo received!!


I have to reconsider my IAS indicator, one problem was a dial scale but this one has been resolved with a new design.
Now my problem is the speed of a stepper motor very low for this kind of application and the step movement of the needle disturb me ,in fact is not enough real.

To summarize:

1. the dial scale is a little far from the reality
2. the steeper speed too low
3. the needle's step movement


For the first point I have to redesign the dial scale.
The second and third point, I make a choice to try with a servo. The fact is I need a servo turning at the minimum from 0° to 320°.
I opted for a modified continue rotation Futaba S148 .


Overview

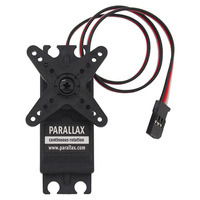
The Parallax (Futaba S148) continuous rotation servo converts standard RC servo position pulses into continuous rotation speed. It can be controlled directly by a microcontroller without any additional electronics, which makes it a great actuator for robotics projects. The servo includes an adjustable potentiometer that can be used to center the servo and comes with a star-shaped servo horn and an 11″ (270 mm) lead.

Specs:

Power: 4.8 – 6 V
Top 6 V speed: 50 RPM (with no load)
Torque: 2.7 kg-cm/38 oz-in at 6 V
Weight: 43 g/1.5 oz with servo horn and screw
Size (L x W x H): 40.5 mm x 20.0 mm x 38.0 mm / 1.60" x 0.8" x 1.50"
Control interface: RC servo pulse width control, 1.50 ms neutral
Manual adjustment port
Speed at 6V:  0.22sec/60°
Speed at 4.8V:  0.28sec/60°


I put in bold and underlined the interesting parameters for my application.
Despite the fact that the servo is modified, the standard library for coding in Arduino still usable.


ServoRaccordement.png

 Fichier:Arduino-ServoMoteur.png


Parallax (Futaba S148) continuous rotation servo.


Soon the test with this servo.


samedi 22 novembre 2014

Some test on IAS

I ordered a week ago a hall effect sensor for my IAS. The problem was, the home position for the stepper motor. After some hours of test, i succeeded to configure the home position . I printed some parts to fix the hall sensor. I took some pictures.
The indicator seems work well. I have to adapt the code because the IAS doesn't respond at a linear law. But this adaptation should be done when the motor stepper will be replaced.

mercredi 19 novembre 2014

Arduino 'map' function

One useful function when you want to use an analog sensor Arduino have a ready to use function called 'map'. 

syntax:

map (value, fromLow, fromHigh, toLow, toHigh)

Parameters

value: a value or an analog pin value read

fromLow: the lower bound of the value's current range

fromHigh: the upper bound of the value's current range

toLow: the lower bound of the value's target range

toHigh: the upper bound of the value's target range


The Arduino’s ADCs can read 1024 levels between 0V and 5V, and so the value returned by the analogRead function is an integer in the range 0 through 1023.

--> analogRead(A0);

you read 5V/1024=0,0049V

1 step = 4.9mV

By example if you want to use a 10k potentiometer to switch on two LED, the first one when the potentiometer reach 2K and the second LED from 2,5K to 10K.
The potentiometer will be connected to an analog pin A0, A1…
The start value of the source range is 0 and the end value of the source range 1023.
For the first range (0-2K) you have 0 to 204.6 (1023/5)
For the second range (2.5k to 10k) you have 255.75 to 1023
For the first range the tension will vary from 0 to 1002.54 mV the second range from 1253.175mV to +/- 5000mV. (1023*4.9mV)
The map value will be define like that:
y = map(x, 0, 1023, 0, 10000);
Now with an ‘IF’ condition you can define the two ranges like that:

int z; //the value returned by analogRead is an integer
z = analogRead (A0); // Read the input
if (0<=z<=204.6){   //condition
switch on the first LED;
}
if (255.75<=z<=1023){
switch on the second LED;
}

It’s an interesting function, with only one analog input you can command many buttons with a different resistors value.

In the example see above the potentiometer ranges varies from 2K and the second LED from 2,5K to 10K, I lost 0.5K between the two ranges because I have to consider the potentiometer tolerance.

dimanche 16 novembre 2014

How to connect Arduino to FSX

For interfacing Arduino Uno to FSX i use LinK2fs available here http://www.jimspage.co.nz/intro.htm . You don't need any installation , one thing only you have to start FSX before LinK2fs.
I recommend to make some test for understanding the coding . Of course this code is also available on jimspage.
I have made some test with the code MULTI_LCD_simple  , i put my focus only on the altitude and airspeed parameters.


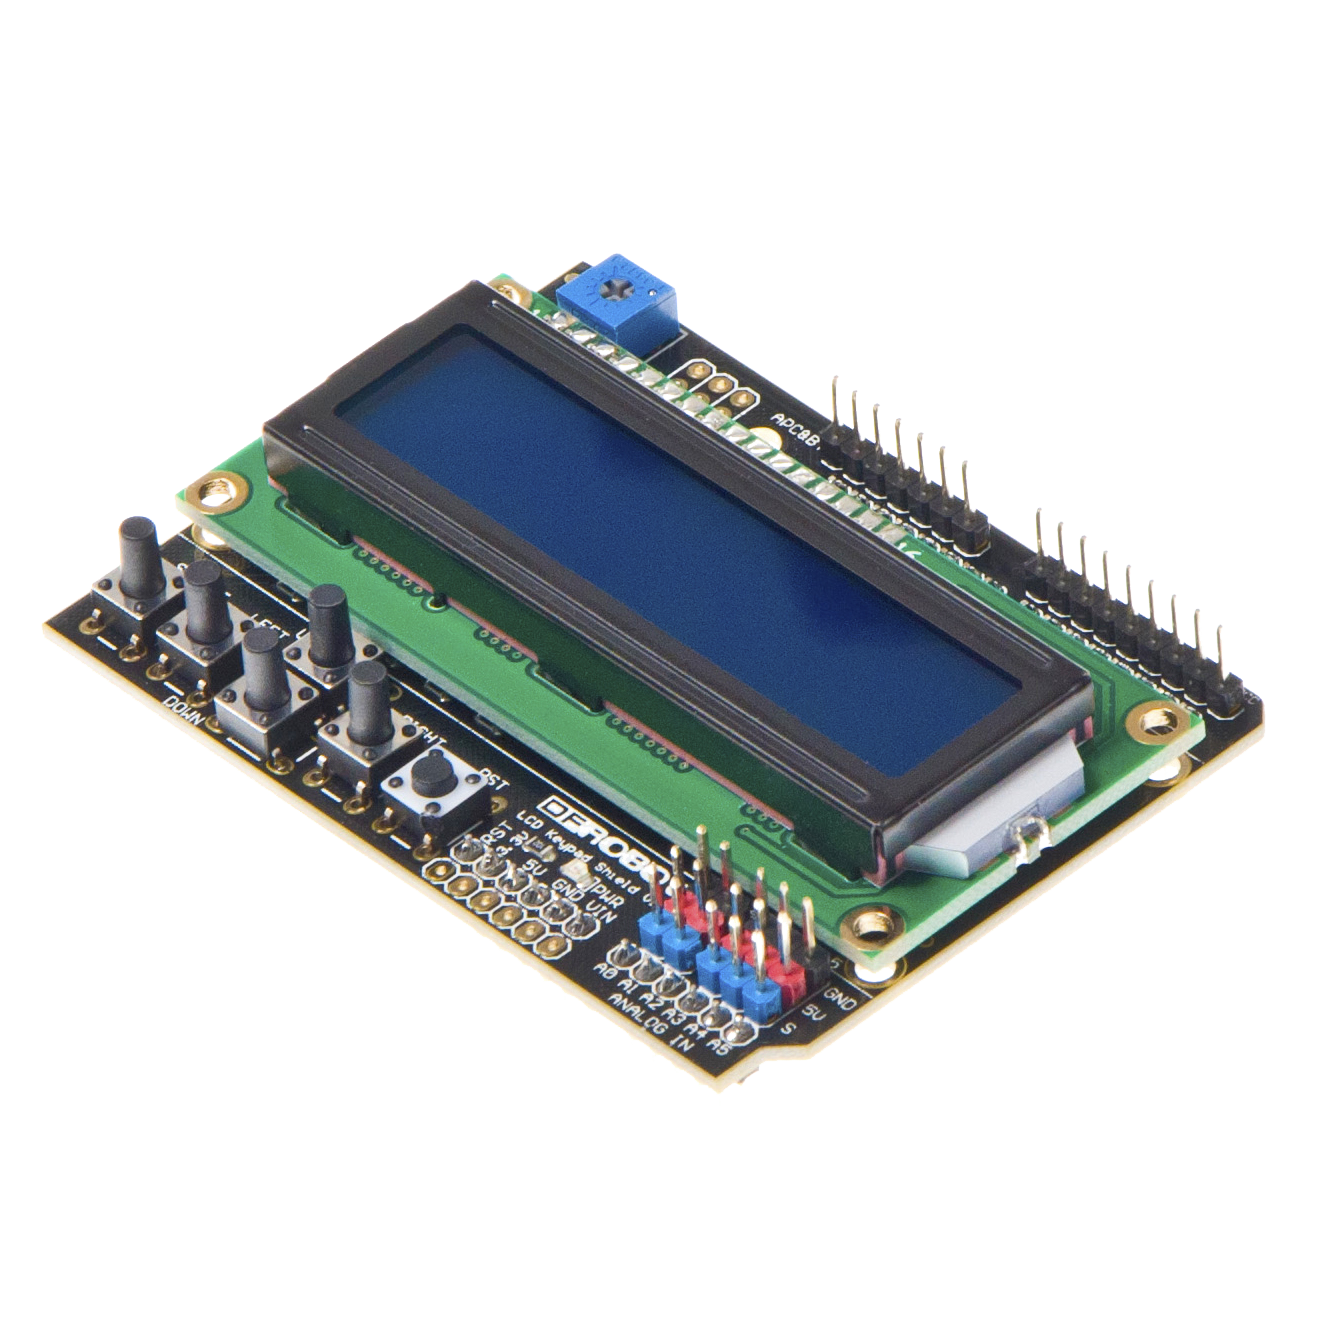
For my test i used a LCD 16x2.
LCD Keypad Shield

I have added the definition for this LCD in the Arduino code:

#include <LiquidCrystal.h> // I call the library 

LiquidCrystal lcd(6, 7, 2, 3, 4, 5); // I define the pins

For the void setup:

 lcd.begin(16, 2);
  lcd.clear();
  
In the void loop  to get the speed and altitude in this way:

case 'P':
    vit = "";
    vit += getChar();
    vit += getChar();
    vit += getChar();

lcd.setCursor(0, 0);
lcd.print("Vitesse " + vit ); 
break; 

case 'D':
    altitude = "";
    altitude += getChar();
    altitude += getChar();
    altitude += getChar();
    altitude += getChar();
    altitude += getChar();

    lcd.setCursor(0, 1);
    delay (11);
    lcd.print("Altitude" + altitude); 
    break; 

After that you download this code in the Arduino.


Here is a little video.